The Easiest Bread You'll Ever Bake
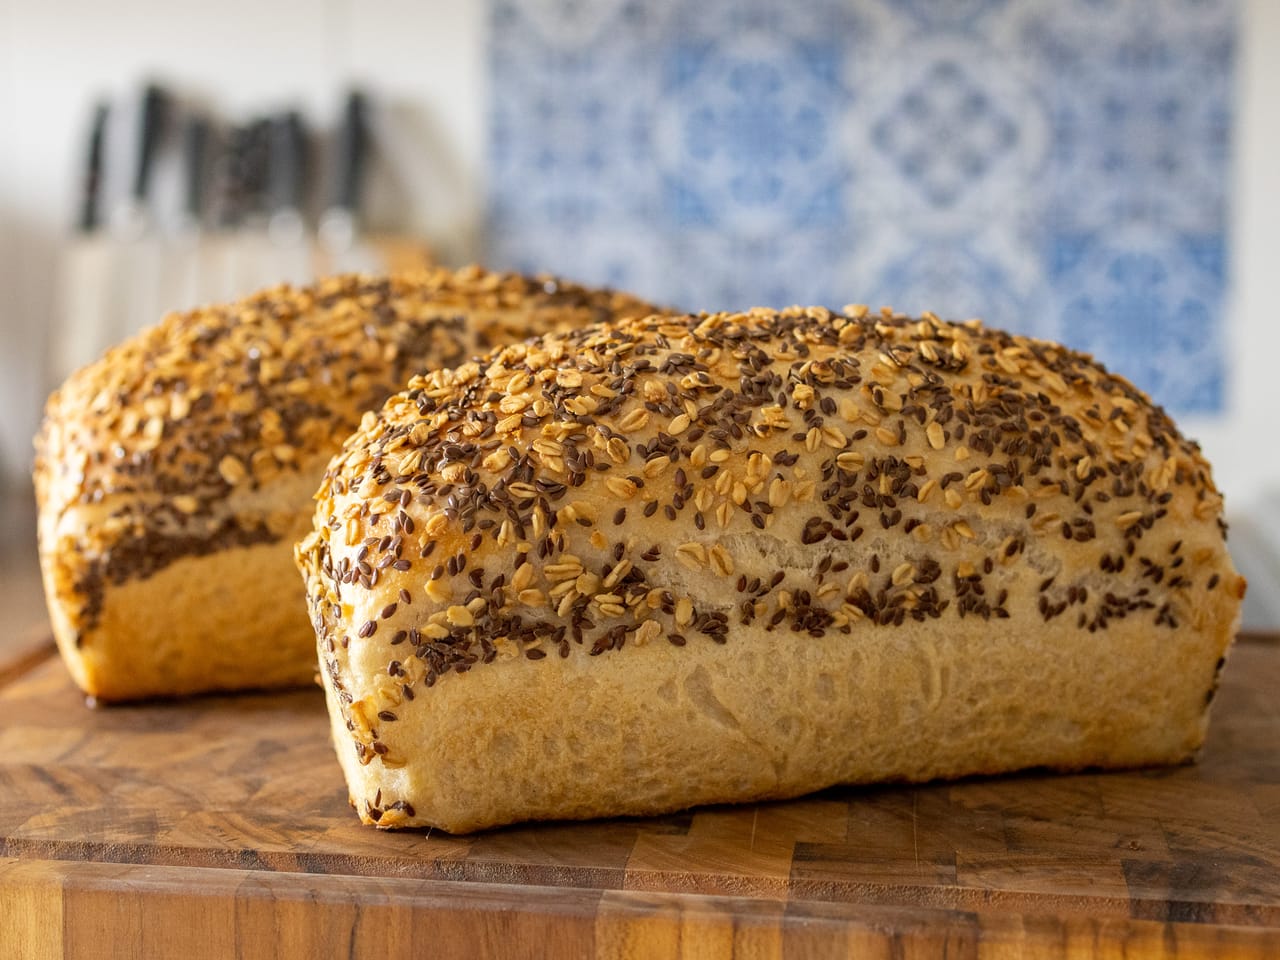
Ready to bake the simplest sourdough bread there is? You mix one dough, put it in a loaf pan with a lid, and bake. No tight shaping, no scoring, no steam.
Why this bread is perfect for beginners:
- The pan gives the loaf its shape
- The lid keeps the steam in, so you don’t have to add any
- Soft, even slices for sandwiches and toast
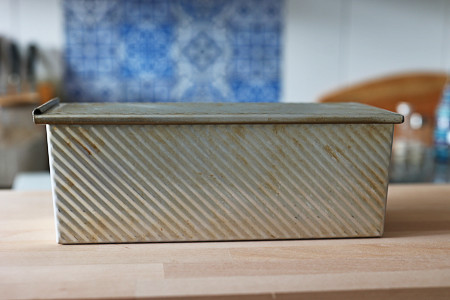
You need a loaf pan with a lid. The next step shows why.
 Leipävuoka (kannellinen)
34cm x 13cm x 12cm
Näytä tuote
Leipävuoka (kannellinen)
34cm x 13cm x 12cm
Näytä tuote
Affiliate link: buying through it supports Loafy at no extra cost to you. All my baking tools
Ready to bake the simplest sourdough bread there is? You stir one dough, spread it into a loaf pan with a lid, and bake. No shaping, no scoring, no steam.
This version is for flours with little or no gluten:
- Rye, einkorn and emmer
- Gluten-free flours such as lentil, corn or rice flour
These flours can’t hold a free-standing loaf, but in a lidded pan they bake into a fine sandwich bread. The dough is very wet, and that is what keeps the crumb light.
You need a loaf pan with a lid. The next step shows why.
Leipävuoka (kannellinen)
34cm x 13cm x 12cm
Näytä tuote
Affiliate link: buying through it supports Loafy at no extra cost to you. All my baking tools

What You Need
A loaf pan with a lid. This bread needs one.
Required
Leipävuoka (kannellinen)
34cm x 13cm x 12cm
Näytä tuote
Affiliate link: buying through it supports Loafy at no extra cost to you. All my baking tools
It doesn’t have to be this exact pan (a Pullman pan): any loaf pan with a lid works. The lid does for sandwich bread what a Dutch oven does for a round loaf. It keeps the steam of the dough inside, so you don’t have to create steam in your oven.
Also have ready:
- A large bowl (the dough weighs almost 2 kg)
- A kitchen scale
- A dough scraper or a sturdy spatula
- A probe thermometer, to know when the middle is baked
- A wire rack for cooling
Grease the pan and the inside of the lid well with butter or oil. Sourdough sticks.
Gather Your Ingredients
For one loaf:
- 800 g bread flour, wheat or spelt (80%)
- 200 g whole wheat flour (20%)
- 600 g water (60%)
- 100 g active sourdough starter (10%)
- 20 g salt (2%)
The percentages are baker’s percentages, measured against the total flour.
Use your starter when it is active, a few hours after feeding. No starter yet? Create one first and come back when it’s bubbly.
For one loaf:
- 1000 g flour: rye, einkorn or emmer, or a gluten-free flour such as lentil, corn or rice flour (100%)
- 800 g water (80%)
- 100 g active sourdough starter (10%)
- 20 g salt (2%)
That is a lot more water than the wheat version. It makes a very sticky dough, and that’s how it should be: the extra water makes the bread fluffier and less dense.
Baking gluten-free? Then your starter has to be gluten-free too. A starter fed with wheat or rye flour brings gluten into the dough.
You don’t need a new one: switch yours over, feeding by feeding. Take only a little of it and feed it with the gluten-free flour you bake with, again and again. With 1 g of starter, 50 g of flour and 50 g of water, about 1% of the old starter is left after each feeding, and after three feedings less than a millionth. Baking for someone with coeliac disease? Use a clean jar and clean utensils too.
No starter yet? Create one first and come back when it’s bubbly.
Mix the Dough
- Put everything in the bowl: flours, water, starter and salt
- Mix until no dry flour is left and the dough is even
- Wait 15 minutes — the flour soaks up the water, and the dough comes together on its own
- Form a nice dough ball — here’s how
Cover the bowl, and you’re done with the mixing.
- Put everything in the bowl: flour, water, starter and salt
- Stir with a spatula until no dry flour is left
The dough is too sticky to knead by hand. The spatula is your hand here: stir and fold until it looks even, like a thick paste.
Cover the bowl, and you’re done with the mixing.
💡 Vinkit
- • Wet the spatula now and then, and the dough won't cling to it
Let It Rise
Leave the covered dough at room temperature until it has grown by about 25%, a quarter bigger than after mixing.
That’s less than many recipes ask for, on purpose: the dough keeps rising in the pan.
Go by the size, not the clock. Warm kitchens are faster, cool ones slower. To see a quarter more easily, put a small piece of the dough in a straight-sided glass and mark its height with a rubber band.
Shape & Pan
- Turn the dough out onto a lightly floured surface
- Flatten it into a rectangle about as wide as your pan is long
- Roll it up tightly from the short side, like a sleeping bag
- Place it seam-side down in the greased pan
Topping: brush the top with water and roll it in oats or seeds before it goes into the pan.
This dough isn’t shaped.
- Scrape it into the greased pan with a wet spatula
- Spread it evenly into the corners
- Smooth the top with the wet spatula
Topping: sprinkle seeds or oats over the wet top, they stick by themselves.
Proof in the Pan
Put the lid on and let the dough rise in the pan for 2 hours at room temperature.
Then choose:
- Bake today: leave it until it is ready
- Bake tomorrow: put the pan in the fridge overnight
It’s ready when the dough is about 2 cm below the lid. That can take longer than you think. After a night in the fridge, take the pan out the next day and wait until the dough has risen that far. Only then turn on the oven.
Put the lid on and let the dough rise in the pan for 2 hours at room temperature. It will grow a little.
Then choose:
- Bake today: bake it right after the 2 hours
- Bake tomorrow: put the pan in the fridge overnight and bake it the next morning
Don’t wait for it to reach the lid. These flours can’t trap as much gas as wheat, so the dough won’t rise that far.
Heat the Oven
Heat your oven to 200°C (390°F).
The lid stays on the pan. No steam, no water tray.
Bake
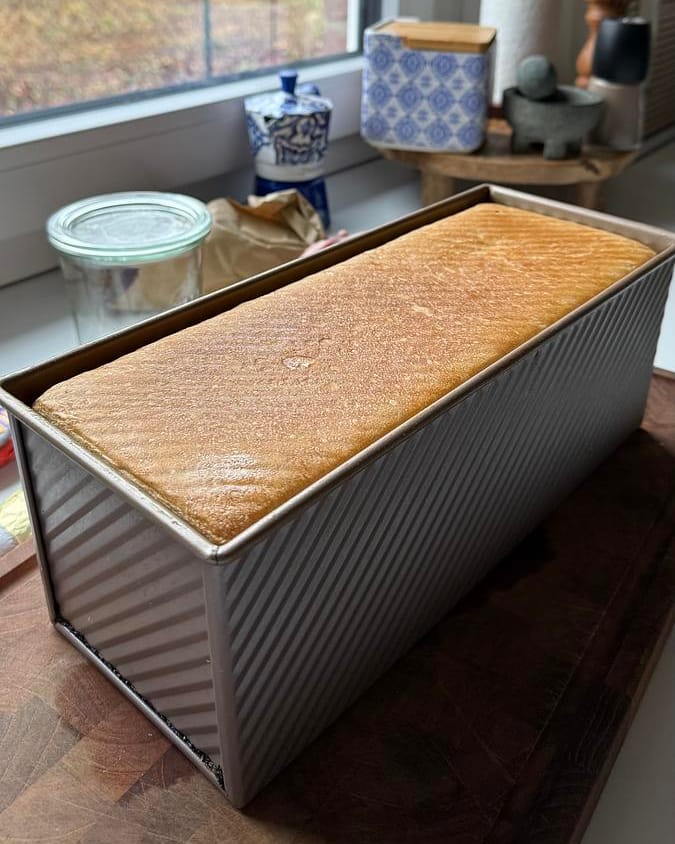
Bake at 200°C (390°F) with the lid on.
It’s done when the middle reaches 92°C (198°F). Check with your thermometer after about 45 minutes, and bake on until it gets there.
Want a darker top? Bake it a little longer.
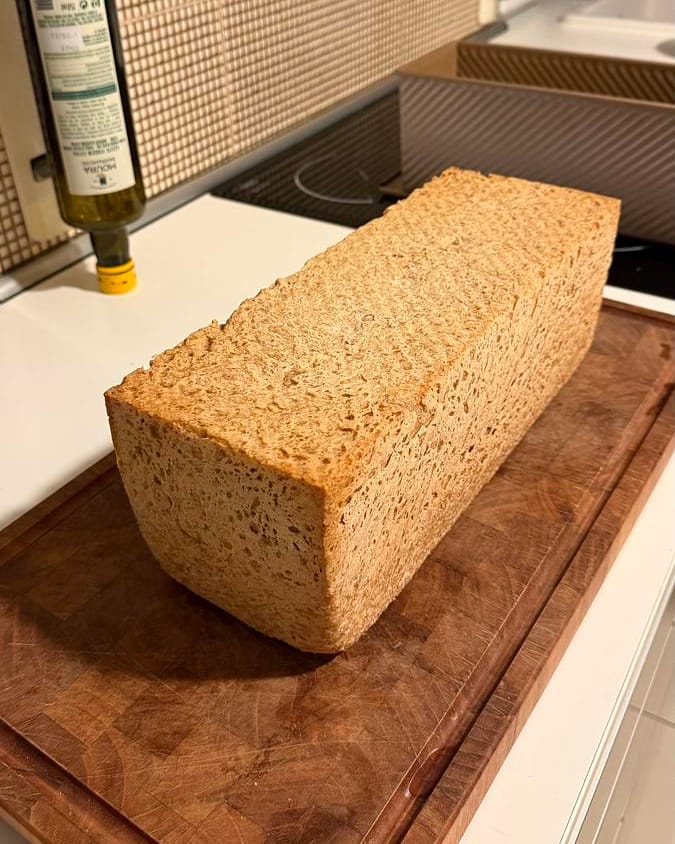
Bake at 200°C (390°F) with the lid on.
It’s done when the middle reaches 92°C (198°F). Check with your thermometer after about 45 minutes, and bake on until it gets there.
Want a darker top? Bake it a little longer.
Don’t expect the rise of a wheat loaf. These flours can’t hold as much gas, so the loaf grows less in the oven. That’s normal.
Cool & Slice
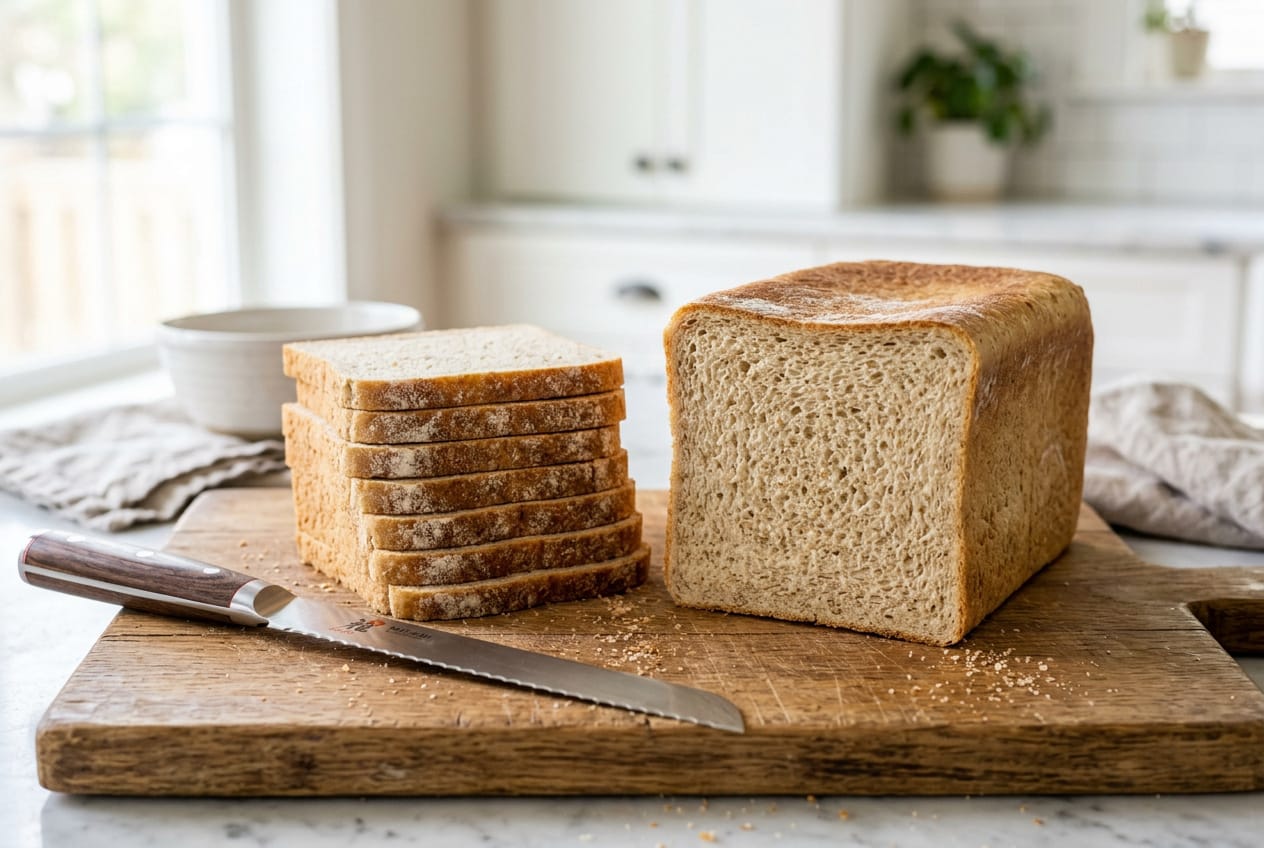
The hardest part: patience.
Take the loaf out of the pan and let it cool completely on a wire rack before you slice it. The crumb is still setting while it cools. Cut it warm and the slices come out gummy.
The hardest part: patience.
Take the loaf out of the pan and let it cool completely on a wire rack before you slice it. The crumb is still setting while it cools. Cut it warm and the slices come out sticky.
Enjoy Your Sandwich Bread!
Congratulations! 🎊
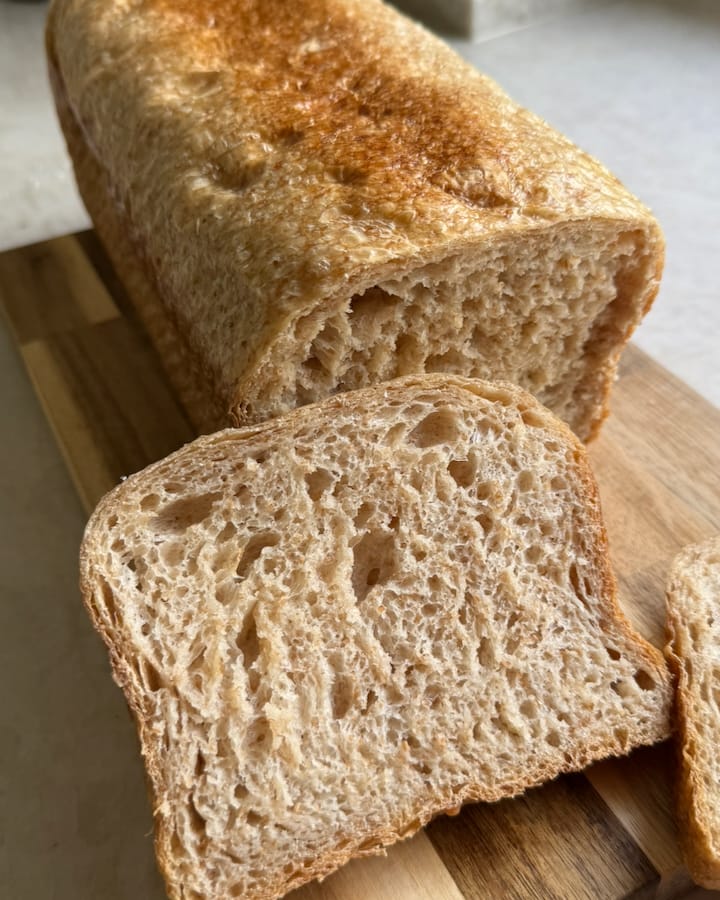
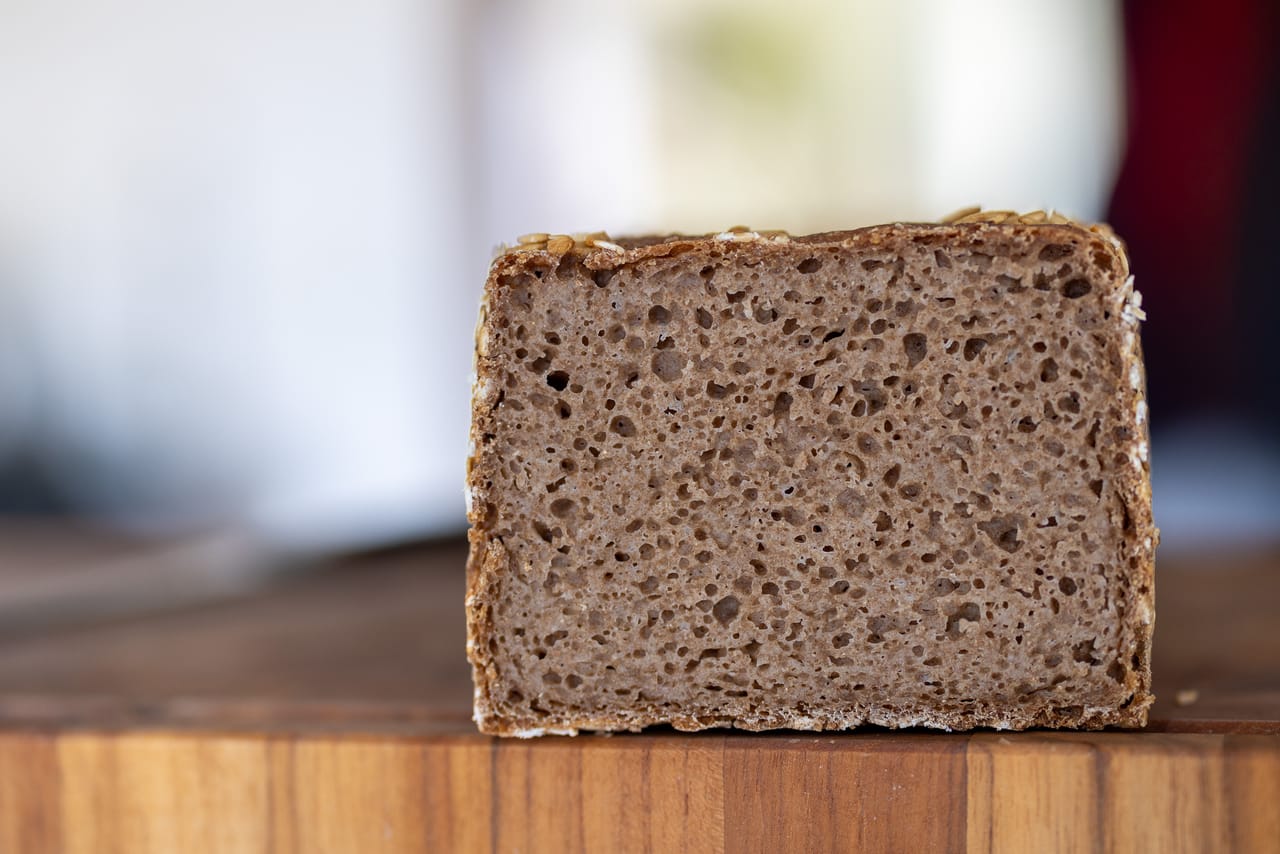
This is the crumb to aim for: soft and even, with small and medium holes.
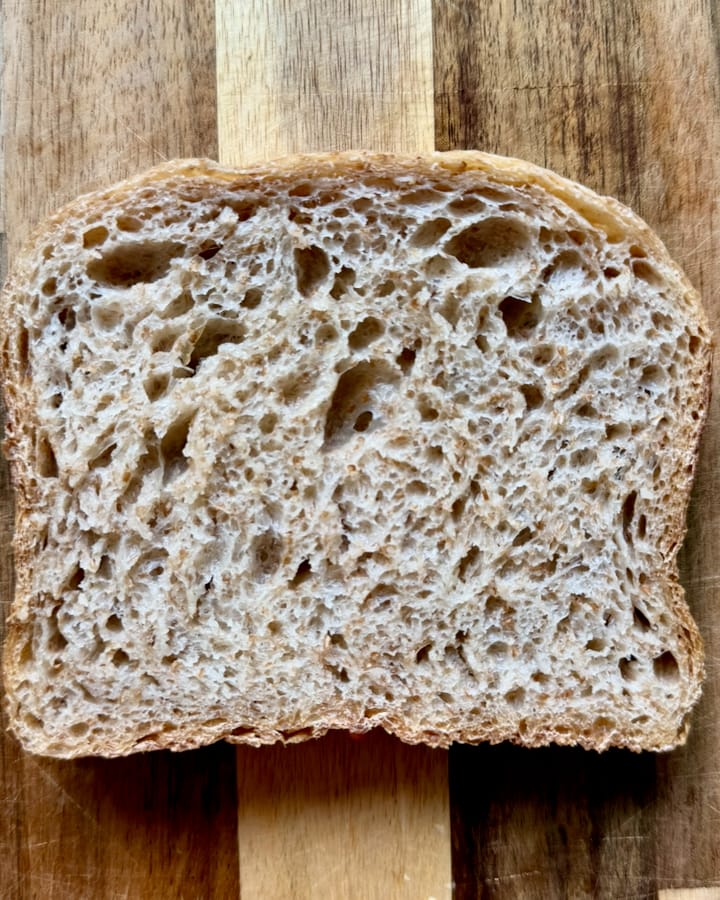
Storage tips:
- Keep it cut side down on a board for the first day
- After that, in a bread bag or a bread box
- It freezes well: slice it first, and toast the slices straight from the freezer
Something didn’t go as planned? Ask Loafy.
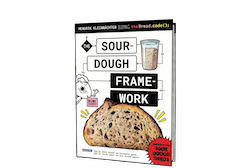
Powered by The Sourdough Framework
Support Loafy by buying the book or leaving a donation.
Congratulations! 🎊
A loaf like this is denser than a wheat loaf, with a moist, even crumb. Slice it thin.
Storage tips:
- Keep it cut side down on a board
- It freezes well: slice it first, and take out only what you need
Something didn’t go as planned? Ask Loafy.
Powered by The Sourdough Framework
Support Loafy by buying the book or leaving a donation.